HOWTO Getting started with Foundries.io
Introduction
This document explains how to use Foundries.io FoundriesFactory cloud service.
FoundriesFactory is a cloud service to build, test, deploy, and maintain secure, updatable IoT and Edge products. It is used to customize open source software projects including u-Boot, OP-TEE, OE/Yocto Project, the Linux microPlatform™ and Docker®.
Reference documents
Preparation
Login to https://app.foundries.io/, or first create an account if you have not one.
Create a Factory
Browse https://app.foundries.io/factories
Click on “New Factory…”
Create Factory
Choose a name for your factory
Fields marked with * are required
Platform *: Default (RaspberryPi 64-bit)
Factory name *: (empty)
2 to 26 lowercase alphanumeric characters, must start with an alphanumeric character, can contain also - and _
Cancel | Prev | Next
Fill in the required information
Platform:
Default (RaspberryPi 4 64-bit)Factory name:
test-fio-raspi4
then click “Next”.
Select a subscription plan for your factory
Pay Monthly | Pay Yearly
Free / $0 / 30-day trial
No credit card required
For personal use
3 builds a day
10 managed devices
community support
Commercial / $5,000 / product / month
For commercial use
Unlimited builds
Unlimited managed devices
Priority support
Prices do not include taxes: we might have to collect taxes based on your billing country.
Cancel | Prev | Next
Select “Free”, then click “Next”
Almost there, review & create your factory
Fields marked with * are required
Factory name: test-fio-raspi4
Factory platform: Default (RaspberryPi 4 64-bit)
Selected plan: Free Factory
Plan fee: $ 0
Taxes: $ 0
Total before taxes: $ 0
Total due on Apr 30, 2022: $ 0
[ ] I agree to the FoundriesFactory Subscription terms *
Cancel | Prev | Create Factory
Review the displayed information, check “I agree”, then click “Create Factory”.
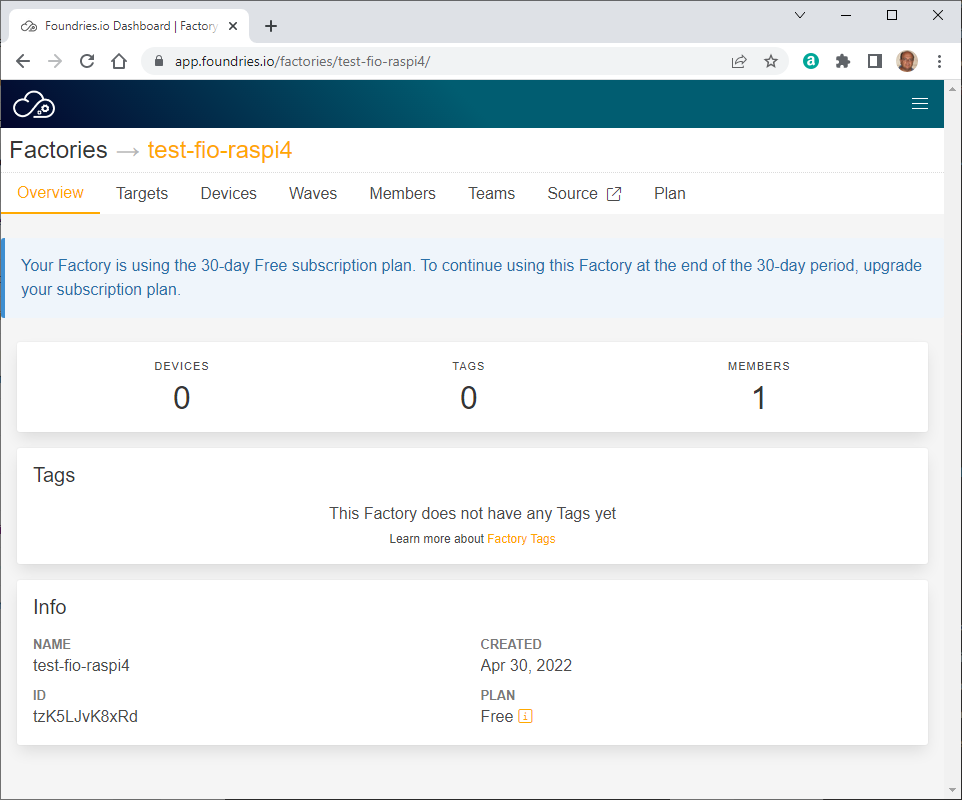
Inspect the built system images
If you click on tab “Targets” you will find the list of completed builds:
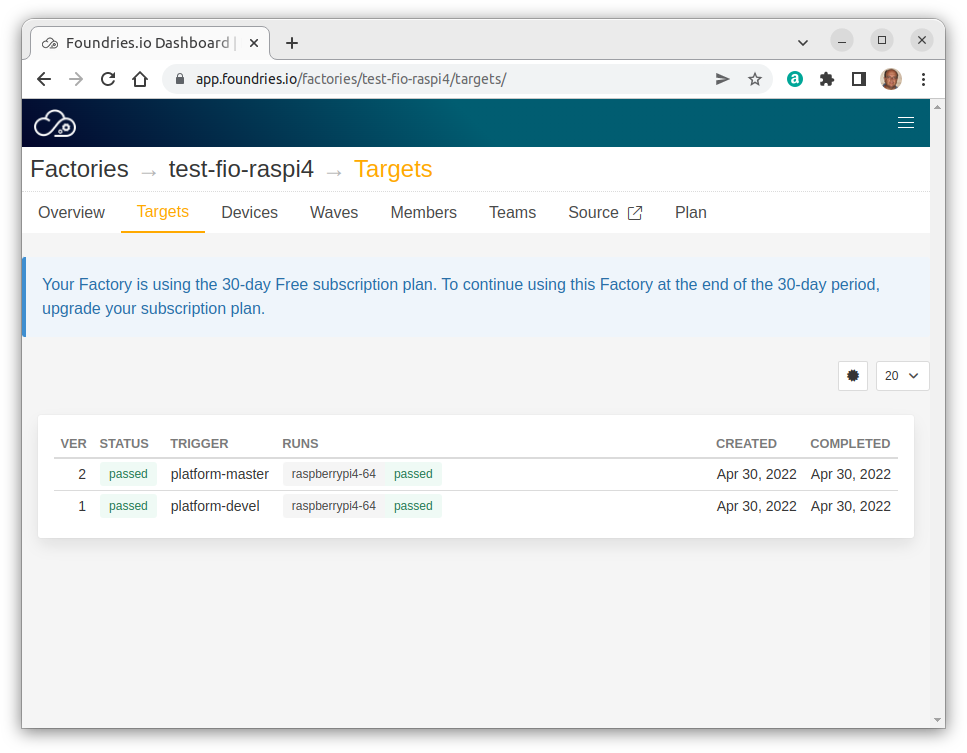
As an example, click on version “2” to display the details of this specific target build:
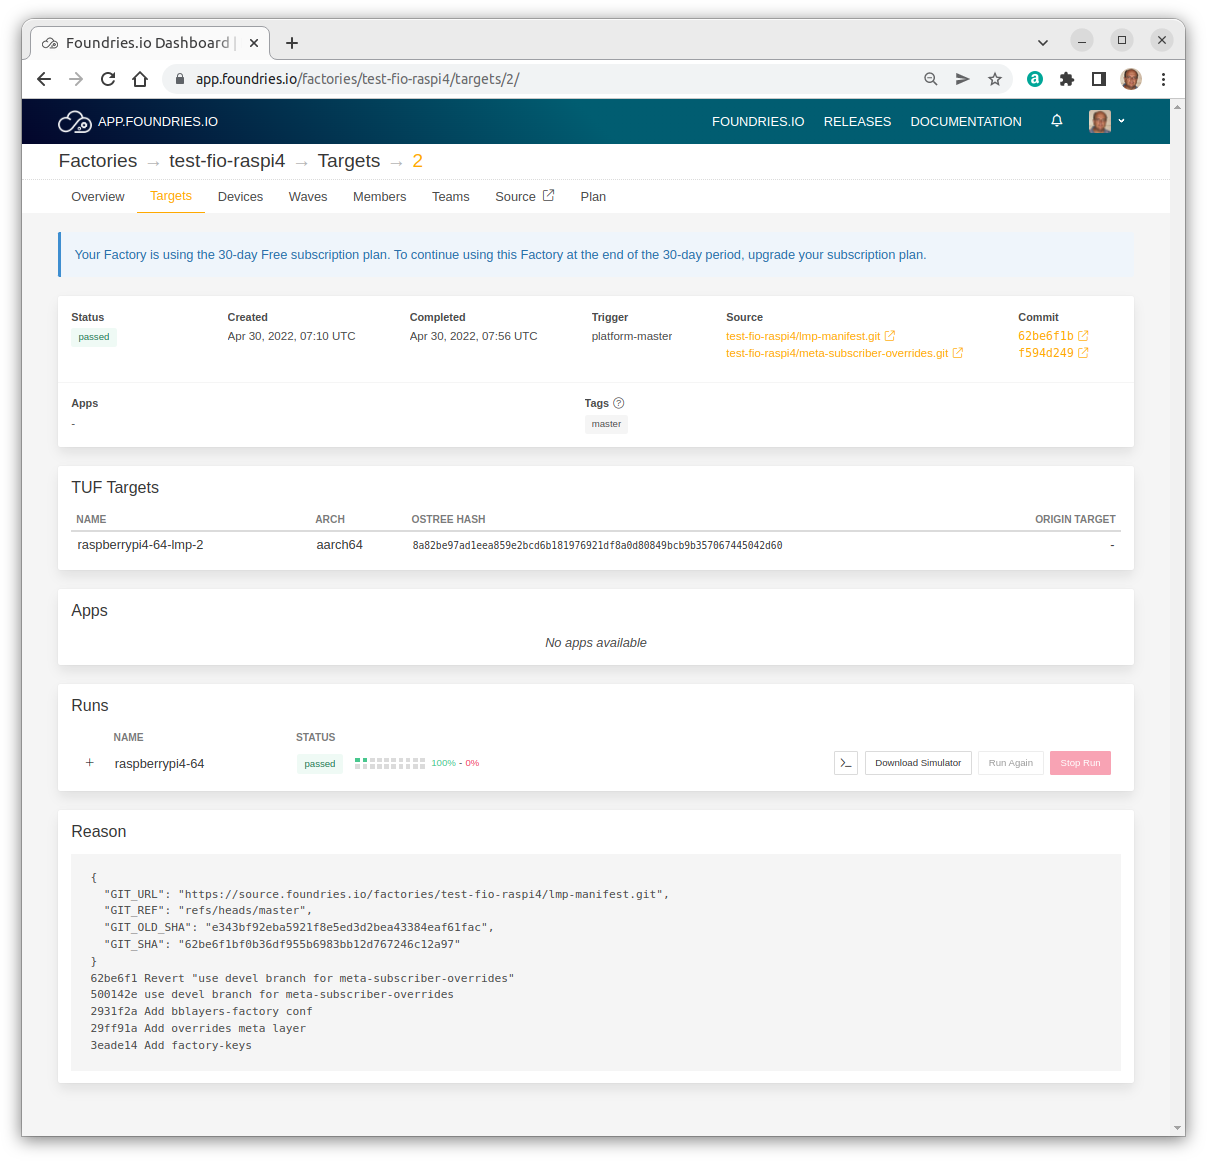
If you expand the “Runs” panel you have access to the build artifacts:
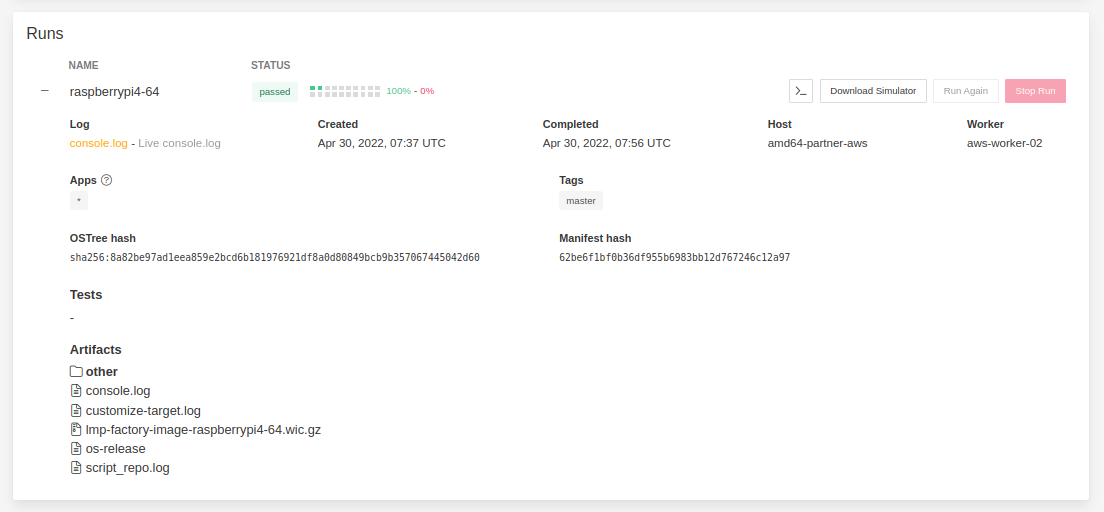
Click on a specific artifact to display its contents.
Install the fioctl tool
Install the fioctl tool following the instructions at https://docs.foundries.io/latest/getting-started/install-fioctl/index.html - for instance, on Linux
export FIOCTL_VERSION=v0.25
sudo curl -o /usr/local/bin/fioctl -LO https://github.com/foundriesio/fioctl/releases/download/$FIOCTL_VERSION/fioctl-linux-amd64
sudo chmod +x /usr/local/bin/fioctl
Verify the correct installation of fioctl
gmacario@hw2228:~ $ fioctl
Manage Foundries Factories

Usage:
  fioctl [command]

Available Commands:
  completion       Generate completion script
  config           Manage configuration common to all devices in a factory
  configure-docker Configure a hub.foundries.io Docker credential helper
  devices          Manage devices registered to a factory
  event-queues     Manage event queues configured for a Factory
  help             Help about any command
  keys             Manage keys in use by your factory fleet
  login            Access Foundries.io services with your client credentials
  logout           Remove Foundries.io client credentials from system
  secrets          Manage secret crendentials configured in a factory
  status           Get dashboard view of a factory and its devices
  targets          Manage factory's TUF targets
  teams            List teams belonging to a FoundriesFactory
  users            List users with access to a FoundriesFactory
  version          Show version information of this tool.
  waves            Manage factory's waves

Flags:
  -c, --config string   config file (default is $HOME/.config/fioctl.yaml)
  -h, --help            help for fioctl
  -v, --verbose         Print verbose logging

Use "fioctl [command] --help" for more information about a command.
gmacario@hw2228:~ $
Deploy your first device using FoundriesFactory
Follow the instructions at https://docs.foundries.io/latest/getting-started/flash-device/index.html
In our example we will be creating a bootable microSD Card for the Raspberry Pi 4.
Download LmP system image
Login to https://app.foundries.io/, then select a Factory which you have access to - in our example, test-fio-raspi4.
(Optional) Take note of the Source URLs and their related Commits - in our example:
Source |
Commit |
|---|---|
Navigate to the “Targets” section of your Factory, then click the latest Target with the platform-devel Trigger. Expand the run in the “Runs” section with corresponds with the name of the board, then click “Download Simulator” (TBV).
In our example, this operation will download file lmp-factory-image-raspberrypi4-64.wic.gz (218 MB).
Flash LmP system image
Write the image to a blank microSD Card using a tool such as balenaEtcher.
Boot device and connect to the network
Connect an Ethernet cable to the board
Insert the microSD into the Raspberry Pi and
Power up the board
You board will connect to the network via Ethernet and will be ready to connect within a minute or two of booting.
Linux-microPlatform 3.4.3-1-86-4-g500142e raspberrypi4-64 tty1

raspberrypi4-64 login:
Default username/password: fio/fio
Verify assigned IP address
fio@raspberrypi4-64:~$ ip addr
1: lo: <LOOPBACK,UP,LOWER_UP> mtu 65536 qdisc noqueue state UNKNOWN group default qlen 1000
    link/loopback 00:00:00:00:00:00 brd 00:00:00:00:00:00
    inet 127.0.0.1/8 scope host lo
       valid_lft forever preferred_lft forever
    inet6 ::1/128 scope host
       valid_lft forever preferred_lft forever
2: eth0: <BROADCAST,MULTICAST,UP,LOWER_UP> mtu 1500 qdisc mq state UP group default qlen 1000
    link/ether e4:5f:01:35:8f:96 brd ff:ff:ff:ff:ff:ff
    inet 192.168.64.174/24 brd 192.168.64.255 scope global dynamic noprefixroute eth0
       valid_lft 43123sec preferred_lft 43123sec
    inet6 fdaf:ad6a:c9df::17a/128 scope global noprefixroute
       valid_lft forever preferred_lft forever
    inet6 fdaf:ad6a:c9df:0:d17:705f:18ab:1617/64 scope global noprefixroute
       valid_lft forever preferred_lft forever
    inet6 fe80::eab4:9416:5a41:8b86/64 scope link noprefixroute
       valid_lft forever preferred_lft forever
3: sit0@NONE: <NOARP> mtu 1480 qdisc noop state DOWN group default qlen 1000
    link/sit 0.0.0.0 brd 0.0.0.0
4: wlan0: <NO-CARRIER,BROADCAST,MULTICAST,UP> mtu 1500 qdisc fq_codel state DOWN group default qlen 1000
    link/ether ce:fd:ee:3d:6e:47 brd ff:ff:ff:ff:ff:ff permaddr dc:a6:32:4e:db:b2
5: docker0: <NO-CARRIER,BROADCAST,MULTICAST,UP> mtu 1500 qdisc noqueue state DOWN group default
    link/ether 02:42:4f:27:c0:b7 brd ff:ff:ff:ff:ff:ff
    inet 172.17.0.1/16 brd 172.17.255.255 scope global docker0
       valid_lft forever preferred_lft forever
fio@raspberrypi4-64:~$
Register your device
Reference: https://docs.foundries.io/latest/getting-started/register-device/index.html
From a console on the device run this command to register the device to your factory:
sudo lmp-device-register -n <device-name>
Example:
fio@raspberrypi4-64:~$ sudo lmp-device-register -n rpird102
Password:
Token is not specified, getting an oauth token from Foundries' auth endpoint...

----------------------------------------------------------------------------
Visit the link below in your browser to authorize this new device. This link
will expire in 15 minutes.
  Device Name: 1f658bf4-cfb1-4546-88cf-01577b67da1b
  User code: yDeY-Aevh
  Browser URL: https://app.foundries.io/activate/

Waiting for authorization /
From your browser visit the displayed URL https://app.foundries.io/activate/:
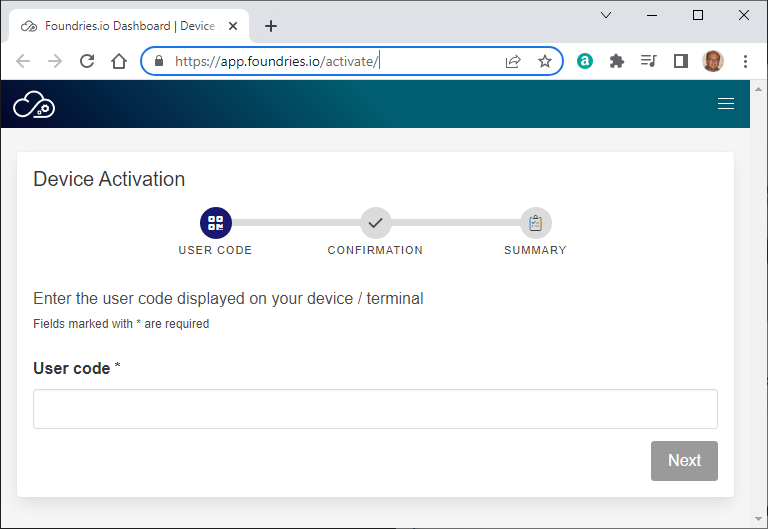
Type the specified User code, then click “Next”:
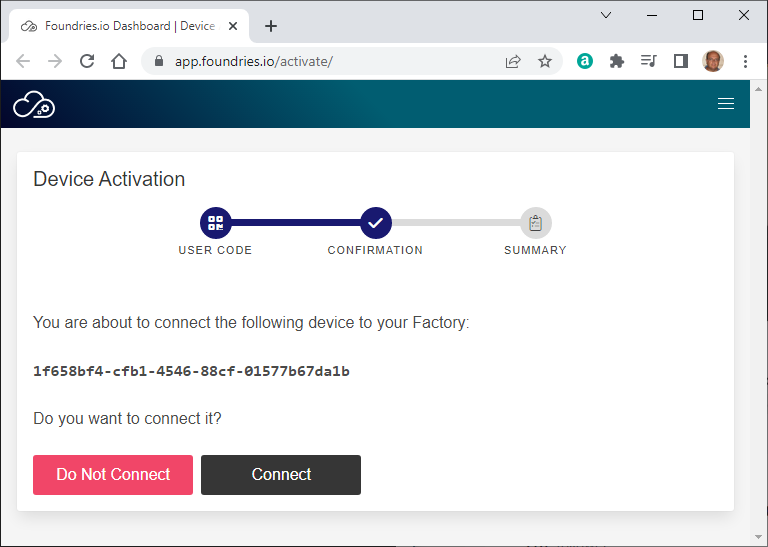
Verify the displayed UUID, then click “Connect” if OK.
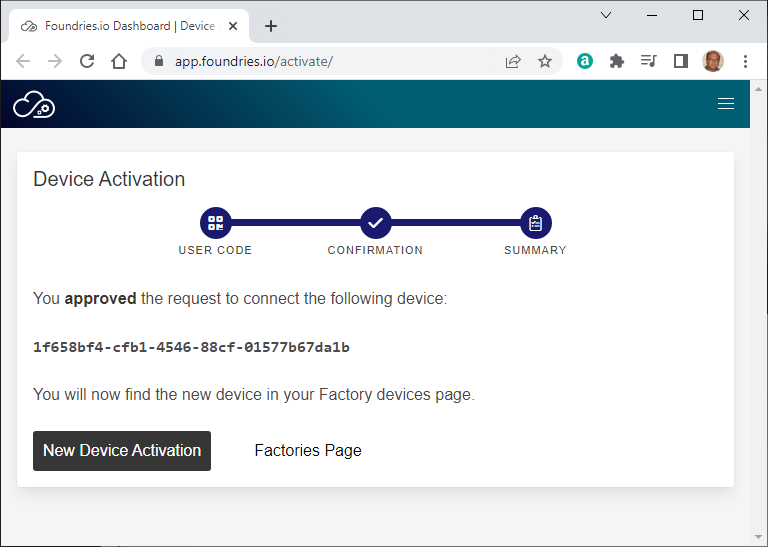
Some more messages will be displayed on the console:
fio@raspberrypi4-64:~$ sudo lmp-device-register -n rpird102
Password:
Token is not specified, getting an oauth token from Foundries' auth endpoint...

----------------------------------------------------------------------------
Visit the link below in your browser to authorize this new device. This link
will expire in 15 minutes.
  Device Name: 1f658bf4-cfb1-4546-88cf-01577b67da1b
  User code: yDeY-Aevh
  Browser URL: https://app.foundries.io/activate/

Registering device, rpird102, to factory test-fio-raspi4.
Device UUID: 1f658bf4-cfb1-4546-88cf-01577b67da1b
Device is now registered.
Starting aktualizr-lite daemon
fio@raspberrypi4-64:~$
Verify on the “Devices” tab of the Factories page that the new device is now in the list of registered devices:
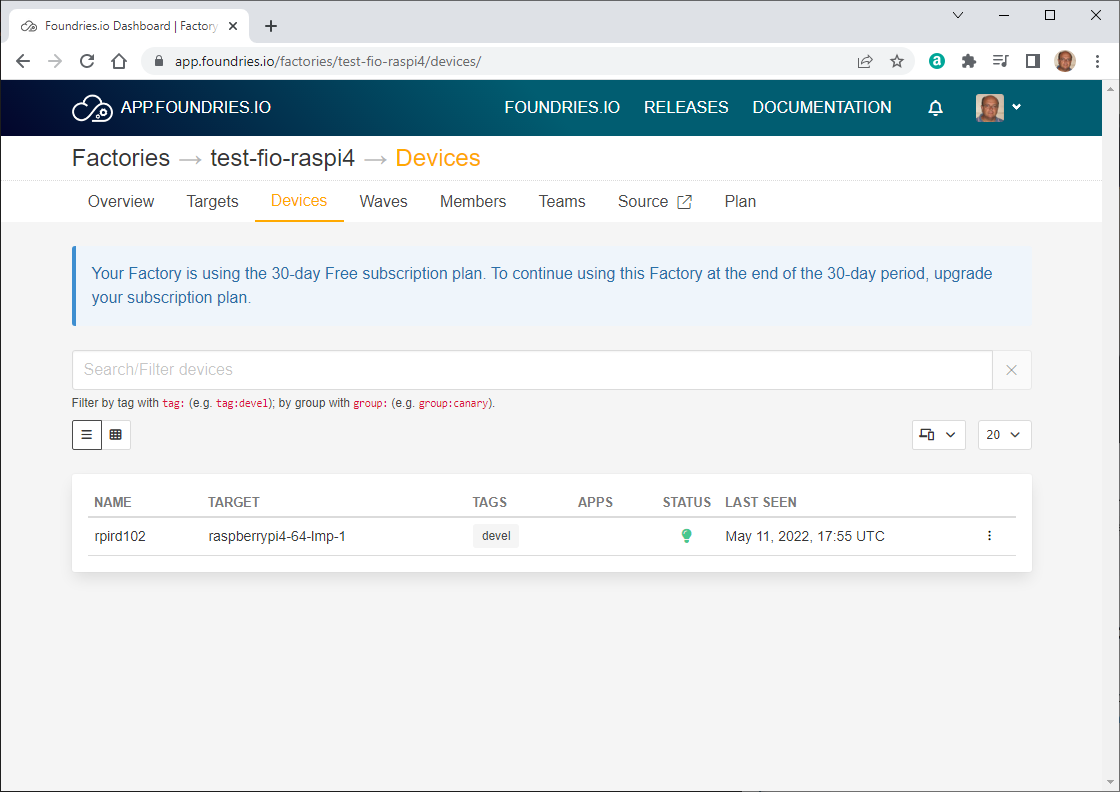
Click on the device to get more details:
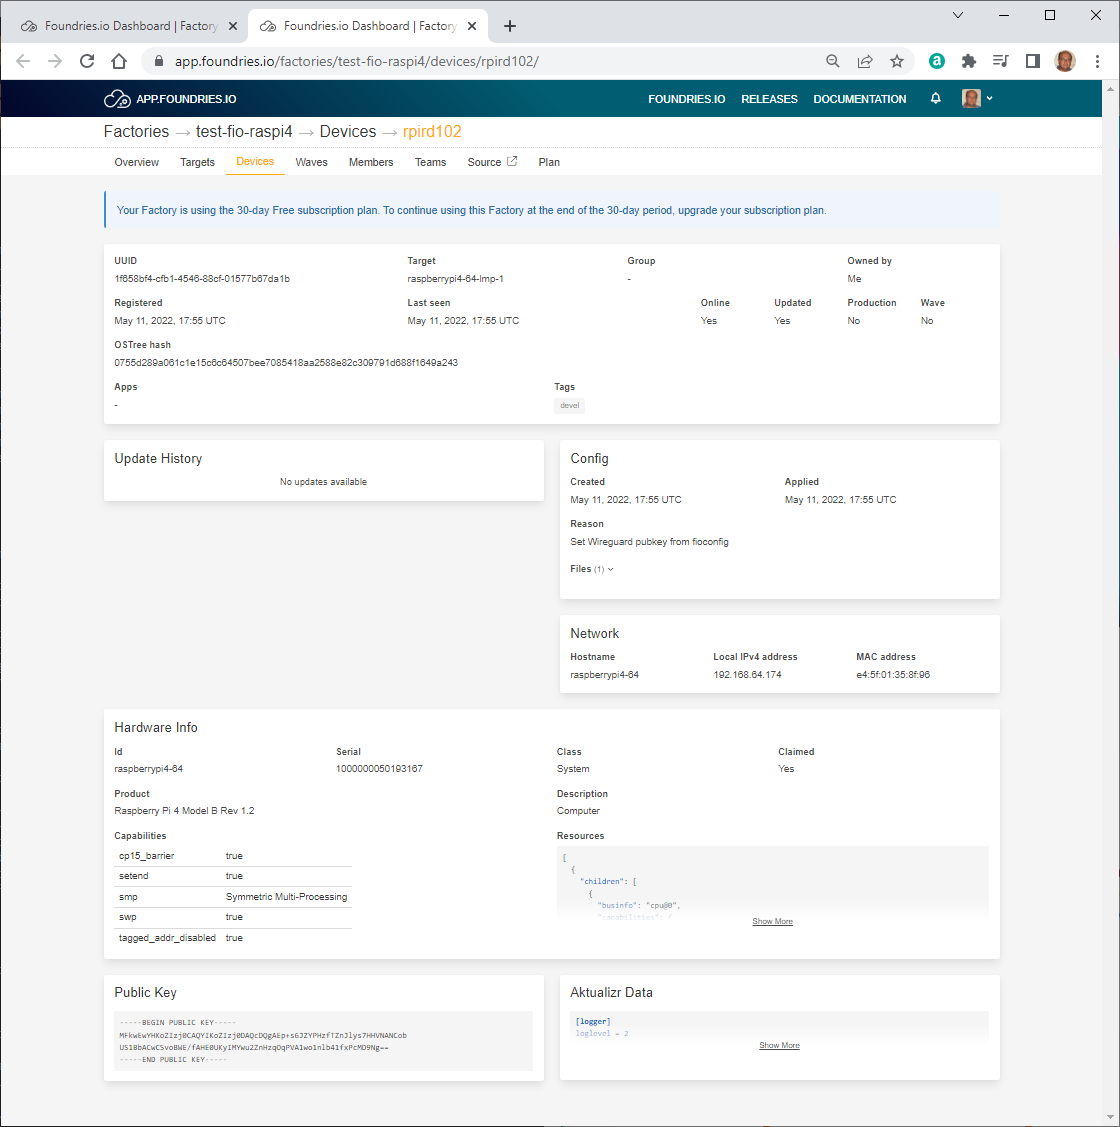
NOTE: This device was registered on Gianpaolo RPi4, TBV whether the image will also work on the actual rpird102.
Clone the factory Source Repositories
Create a Source Code Access Token
Login to https://app.foundries.io/ then click “Settings” > “API Tokens” > “New Token”
Generate API Token
INFO
Fill in the required information:
Description:
git gmacario@hw2288Expiration date: 2022-06-30
then click “Next”.
Generate API Token
SCOPES
Fill in the required information:
Scopes: Use for source code access (
source:create,source:read-update)Factory:
test-fio-raspi4
then click “Generate”.
Generate API Token
Your new API token has been created. Make sure you save the token value as you won’t be able to access it again.
You may use the generated API token to authenticate and access private git source repositories, as shown in the next subsection.
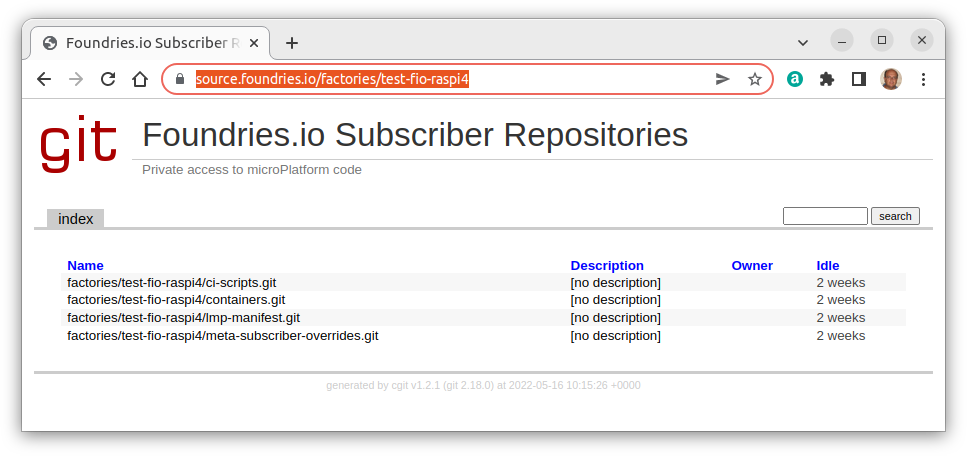
Browse the factory Source Repositories from the web interface
Logged in to https://app.foundries.io rowse the Foundries.io Subscriber Repositories. In our example
https://source.foundries.io/factories/test-fio-raspi4
Configure Git
git config --global credential.helper store

mkdir -p ~/source.foundries.io/factories/<factory>
cd ~/source.foundries.io/factories/<factory>
Clone the Container Source Repository
Clone the containers.git repository:
git clone -b devel https://source.foundries.io/factories/<factory>/containers.git
In our example
gmacario@hw2228:~ $ git clone -b devel https://source.foundries.io/factories/test-fio-raspi4/containers.git
Cloning into 'containers'...
Username for 'https://source.foundries.io': gmacario@gmail.com
Password for 'https://gmacario@gmail.com@source.foundries.io':
remote: Enumerating objects: 8, done.
remote: Counting objects: 100% (8/8), done.
remote: Compressing objects: 100% (8/8), done.
remote: Total 8 (delta 0), reused 0 (delta 0)
Unpacking objects: 100% (8/8), 1.21 KiB | 620.00 KiB/s, done.
gmacario@hw2228:~ $
Note: When requested by git, provide your Foundries.io as username (in our example, gmacario@ŋmail.com), then provide the generated API Token as password.
Using a similar command you may also clone the other source repositories of the factory:
git clone https://source.foundries.io/factories/<factory>/ci-scripts.git

git clone https://source.foundries.io/factories/<factory>/lmp-manifest.git

git clone https://source.foundries.io/factories/<factory>/meta-subscriber-overrides.git
Deploy your first Application
Reference: https://docs.foundries.io/latest/tutorials/deploying-first-app/deploying-first-app.html
Configure your device
To improve your experience during this tutorial, you will configure both aktualizr-lite and fioconfig to check every minute.
sudo mkdir -p /etc/sota/conf.d/
sudo bash -c 'printf "[uptane]\npolling_sec = 60" > /etc/sota/conf.d/z-01-polling.toml'

sudo bash -c 'printf "DAEMON_INTERVAL=60" > /etc/default/fioconfig'

sudo systemctl restart aktualizr-lite
sudo systemctl restart fioconfig
To watch the aktualizr-lite logs and see the updates, leave a device terminal running the command:
sudo journalctl --follow --unit aktualizr-lite
Make changes to the devel branch of containers.git
Make some changes to the devel branch of containers.git – for instance, you may rename the shellhttpd.disabled to shellhttpd to ensure that the Docker image gets built and the container run in the target.
cd containers
git checkout devel
git mv shellhttpd.disabled shellhttpd
git commit -sm "Enable container: shellhttpd"
git push
Any change on the git repository will cause the target image to be rebuilt
Debugging your device
Logged in on the development host, check the list of subscribed devices
fioctl login
fioctl devices list
Result:
gmacario@hw2228:~ $ fioctl devices list
NAME      TARGET                 STATUS  APPS  UP-TO-DATE  IS-PROD
----      ------                 ------  ----  ----------  -------
rpird102  raspberrypi4-64-lmp-1  OK            true        false
gmacario@hw2228:~ $
Read information about device rpird102
gmacario@hw2228:~ $ fioctl device show rpird102
UUID:       1f658bf4-cfb1-4546-88cf-01577b67da1b
Owner:      625ff36d02d292c0e482ecbf
Factory:    test-fio-raspi4
Production: false
Up to date: true
Target:     raspberrypi4-64-lmp-1 / sha256(0755d289a061c1e15c6c64507bee7085418aa2588e82c309791d688f1649a243)
Ostree Hash:   0755d289a061c1e15c6c64507bee7085418aa2588e82c309791d688f1649a243
Created:    2022-05-11T17:55:47+00:00
Last Seen:  2022-05-16T09:41:00+00:00
Tag:        devel
Network Info:
   Hostname:   raspberrypi4-64
   IP:      192.168.69.128
   MAC:     e4:5f:01:35:8f:96
Hardware Info: (hidden, use --hwinfo)
Aktualizr config: (hidden, use --aktoml)
Active Config:
   Created At:    2022-05-11T17:55:48+00:00
   Applied At:    2022-05-11T17:55:48+00:00
   Change Reason: Set Wireguard pubkey from fioconfig
   Files:
      wireguard-client
       | enabled=0
       |
       | pubkey=Po/
       bjvs8w8bGgBLdPsh1owUO9r18rfLf/a+981Hjp2g=

-----BEGIN PUBLIC KEY-----
MFkwEwYHKoZIzj0CAQYIKoZIzj0DAQcDQgAEp+s6JZYPHzfTZnJlys7HHVNANCob
US1BbACwCSvoBWE/fAHE0UKyIMYwu2ZnHzqOqPVA1wo1nlb41fxPcMD9Ng==
-----END PUBLIC KEY-----
gmacario@hw2228:~ $
Take note of the value of field Tag: (in our case, devel), then double check on https://app.foundries.io/factories/test-fio-raspi4/targets/ which is the the latest Target with that tag.
Testing the Container
The changes introduced in the source repository of the factory will trigger a new target image build and - depending on the device configuration - after a few minutes the target will load the new image.
As part of the changed a new Docker container will be run on the target; we can verify this by logging into the target device and issuing the docker ps command:
gmacario@hw2228:~$ ssh fio@raspberrypi4-64.local
fio@raspberrypi4-64.local's password:
Last login: Mon May 16 09:33:03 2022 from 192.168.69.67
fio@raspberrypi4-64:~$ docker ps
CONTAINER ID   IMAGE                                         COMMAND                  CREATED        STATUS        PORTS                                       NAMES
fe5f4f8787ee   hub.foundries.io/test-fio-raspi4/shellhttpd   "/usr/local/bin/http…"   14 hours ago   Up 14 hours   0.0.0.0:8080->8080/tcp, :::8080->8080/tcp   shellhttpd_httpd_1
fio@raspberrypi4-64:~$
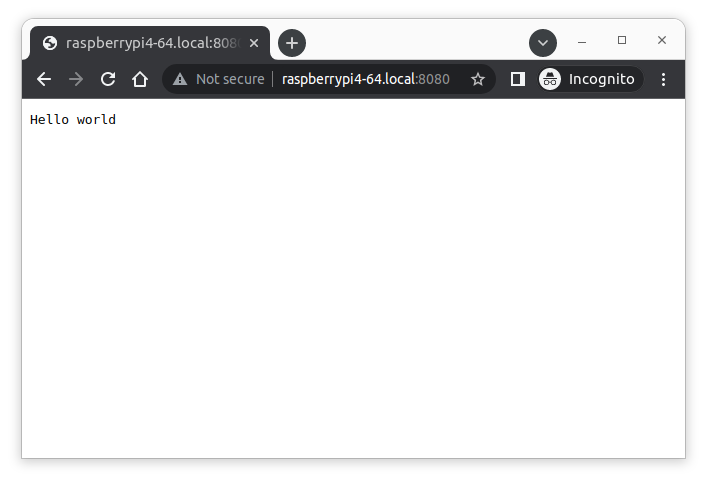
Also, the shellhttpd container will deploy a simple HTTP server which can be verified for instance through a web browser:
Enabling Specific Applications
TODO