HOWTO Prepare a Raspberry Pi 4B for the ARNEIS project
Introduction
The following document explains how to prepare and configure a Raspberry Pi for the ARNEIS project.
Prerequisites
One Raspberry Pi.
Tested on rpi4gm35 (Raspberry Pi 4B 4GB)
One MicroSD card of at least 4GB.
IMPORTANT: The card should be blank, or at least should not contain any important data since it will be completely erased.
Tested with a SanDisk Ultra 256 GB MicroSDXC
One desktop PC or laptop for formatting the SD card and controlling the RPi
OS: A recent version of Windows or Linux or macOS
The PC should have a MicroSDHC card reader. Alternatively, an additional USB MicroSD card reader is required
Fast internet connection
Step-by-step instructions
Prepare the MicroSD card with Raspberry Pi OS
Launch a browser on your laptop and open https://www.raspberrypi.com/software/
Download Raspberry Pi Imager and install it on your laptop.
Insert a MicroSD card into one slot of your laptop. Alternatively, insert the MicroSD into the USB card reader, then plug the USB card reader into one empty USB port of your laptop.
Launch the Raspberry Pi Imager and select the following options
Sistema operativo: Raspberry Pi OS (32-bit)
Scheda SD: MXT-USB Storage Device USB Device - 255.9 GB
then click “SCRIVI”.
Click “SI”.
…
Scrittura completata senza errori
Scrittura di Raspberry Pi OS (32-bit) in MXT-USB Storage Device USB Device completata.
Ora puoi rimuovere la scheda SD dal lettore
Remove the MicroSD from your laptop
First boot of the RPi with the new MicroSD card
(2022-01-12 08:35 CET)
Insert the MicroSD card into your Raspberry Pi.
Connect a display using a MicroHDMI-to-HDMI cable
Connect a USB keyboard to the first USB 2.0 port of the RPi4
Connect a USB mouse to the second USB 2.0 port of the RPi4
Connect a 5Vdc, 3A power supply to the USB-C port of the RPi4
Turn on the power supply and wait for Raspberry Pi OS to boot.
Click “Next”.
Fill in the form as shown above, then click “Next”
…
Change Password
The default ‘pi’ user account currently has the password ‘raspberry’. It is strongly recommended that you change this to a different password that only you know
Enter new password: xxxx
Confirm new password: xxx
[x] Hide characters
Press ‘Next’ to activate your new password.
Fill in the form as instructed, then click “Next”
Verify and update if needed, then click “Next”.
Select the desired WiFi network, then click “Next”. If the select network is protected you will be requested the password
Click “Next”.
Click “Next”.
Download updates - please wait.
When the update is complete the following popup should be displayed
System is up to date
Click “OK” to continue.
Click “Restart”.
Verify that the RPi reboots correctly.
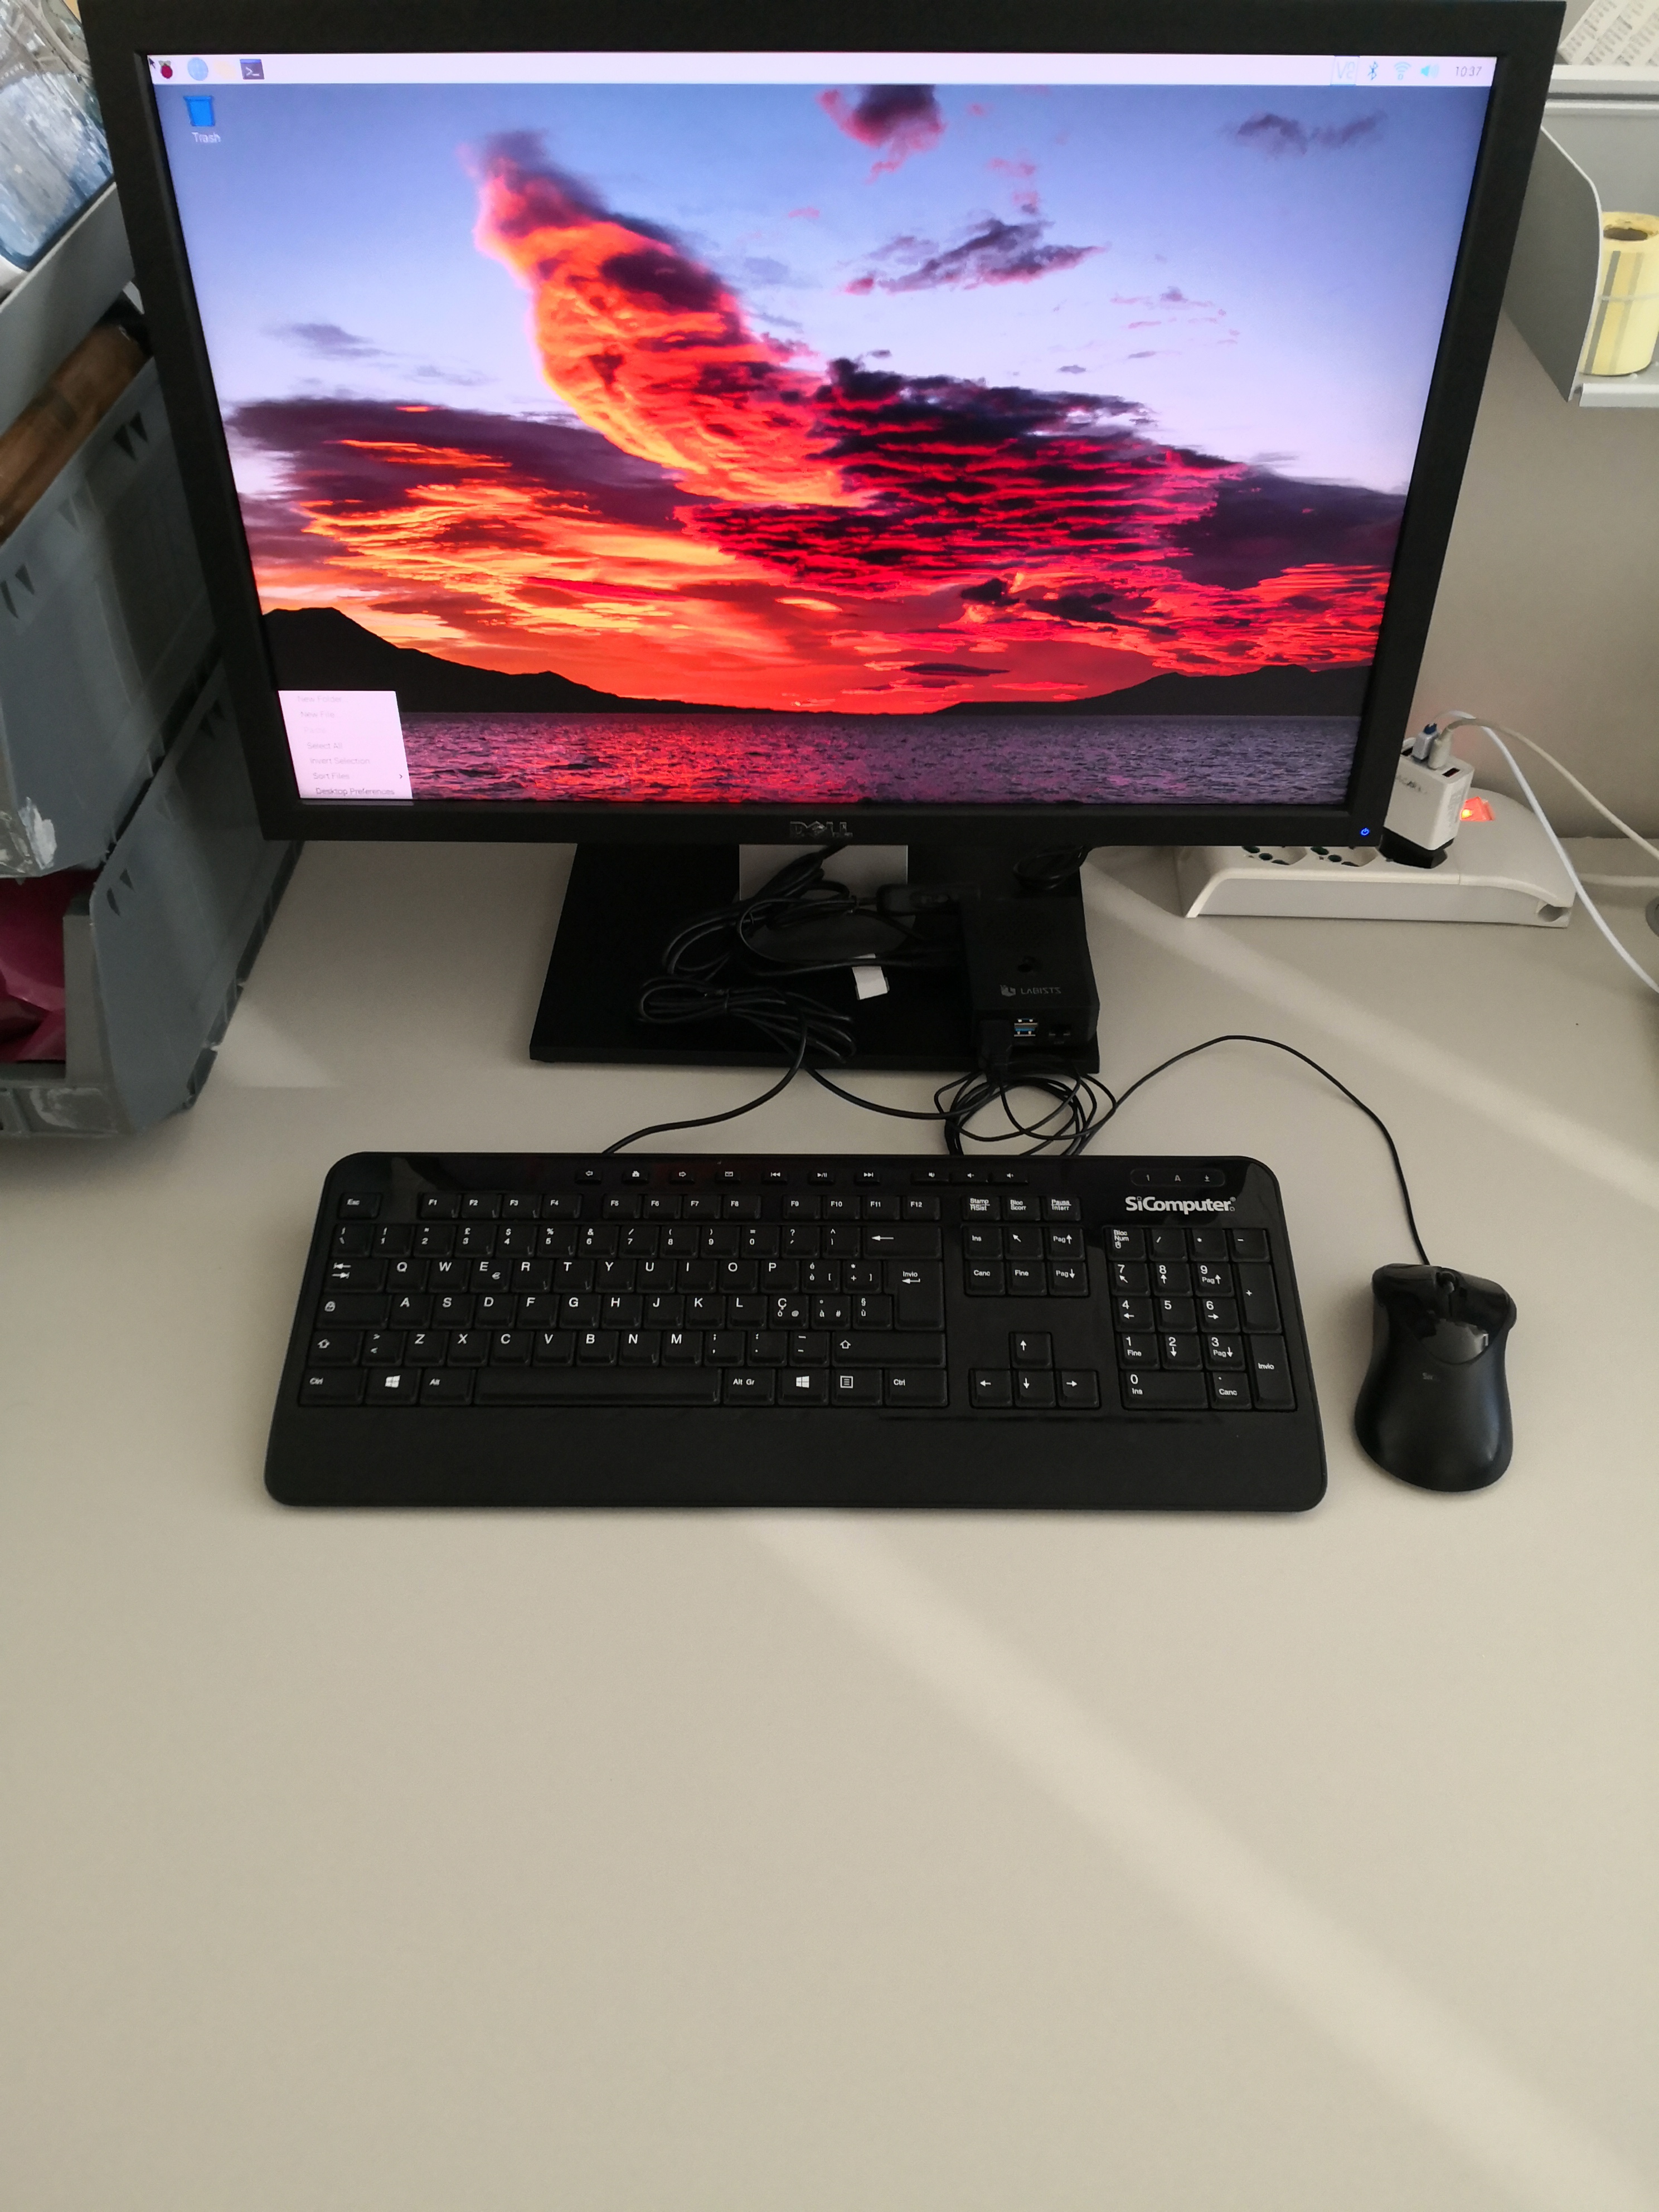
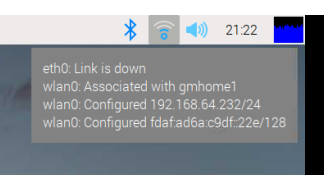
Display assigned IP addresses
To know the IP addresses assigned to the Raspberry Pi just move the mouse over the network icon at the top right of the desktop
Configure hostname, SSH and VNC
Open a terminal and type the following command
sudo raspi-config
Select “1” (System Options), then “S4” (Hostname)
Enter hostname:
rpi4gm35(will replace default hostnameraspberrypi)Select “3” (Interface Options), then “I2” (SSH)
Select “Yes” to enable SSH
Select “3” (Interface Options), then “I3” (VNC)
Select “Yes” to enable VNC
Select “Finish” to exit
raspi-config. Reboot if requested
Verify that the RPi is accessible from the laptop via SSH and VNC (you may need to scan the local Wi-Fi network to get the IPv4 address assigned by the router)
HINT: To scan the network and identify the open services you can use one of those tools
It this works disconnect the USB keyboard, mouse and display
Reboot your RPi4 and verify that the device is still accessible from SSH:
gpmacario@HW2457 MINGW64 ~
$ ssh pi@172.30.48.18
pi@172.30.48.18's password:
Linux rpi4gm35 5.10.63-v7l+ #1488 SMP Thu Nov 18 16:15:28 GMT 2021 armv7l

The programs included with the Debian GNU/Linux system are free software;
the exact distribution terms for each program are described in the
individual files in /usr/share/doc/*/copyright.

Debian GNU/Linux comes with ABSOLUTELY NO WARRANTY, to the extent
permitted by applicable law.
Last login: Wed Jan 12 16:36:38 2022
pi@rpi4gm35:~ $
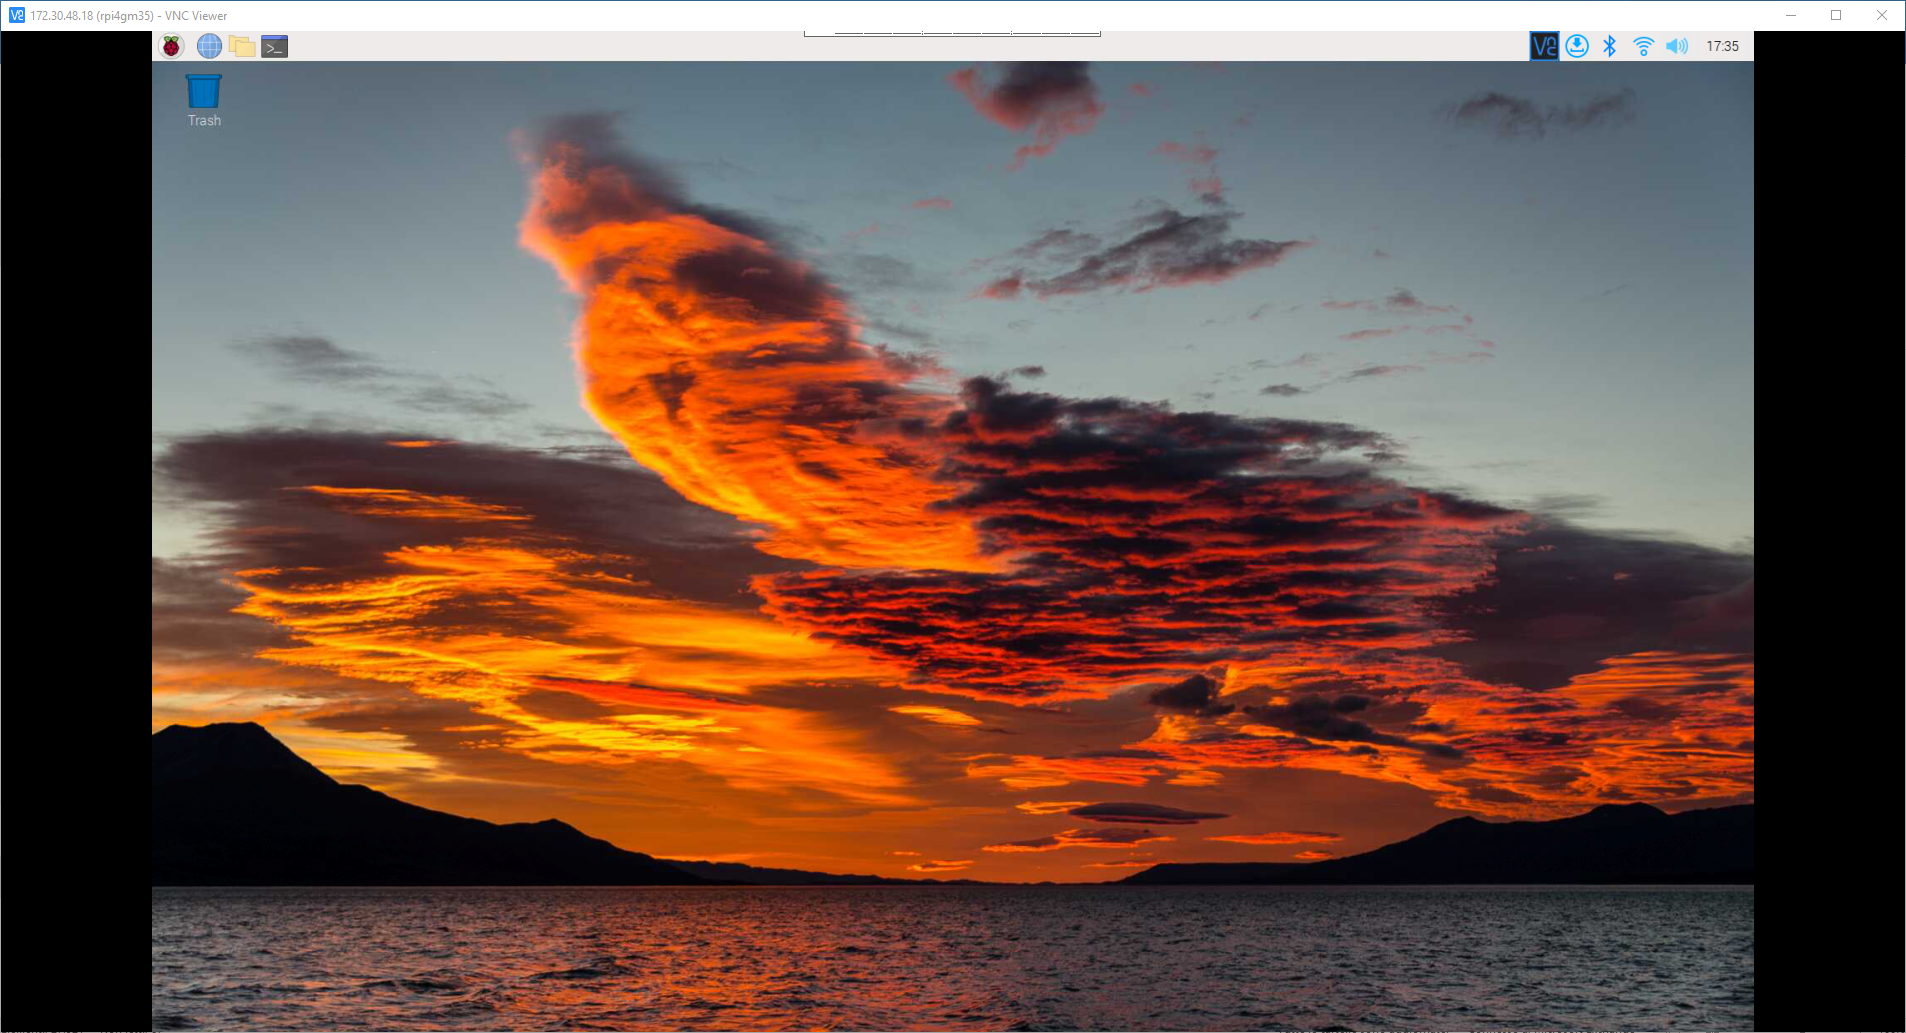
Do the same using a VNC client (in my case I used the free to use VNC® Viewer)
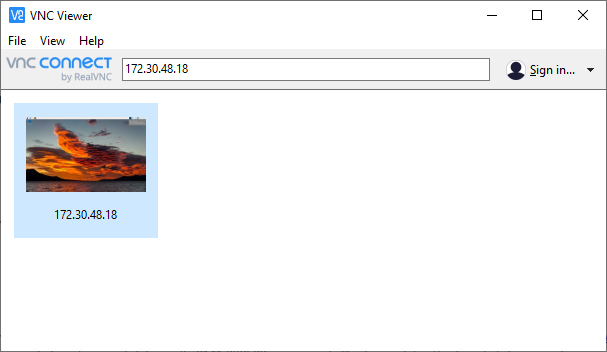
Double click on the selected profile to connect to the remote desktop of the Raspberry Pi:
(Recommended) Create a public DNS entry
If you have administrative rights to a DNS zone you may choose to access your Raspberry Pi using a symbolic name rather than an IP address.
If so, access your DNS administrative page (in my case, https://register.it/) and create an A record to map the name to the IP address assigned to your Raspberry Pi.
In my case
A rpi4gm35 172.30.48.18
Wait until the DNS zone is propagated, then verify that the device can be accessed by another host (in our case, our laptop) using the assigned name rather than its IP address:
gpmacario@HW2457 MINGW64 ~
$ ping rpi4gm35.gmacario.it

Esecuzione di Ping rpi4gm35.gmacario.it [172.30.48.18] con 32 byte di dati:
Risposta da 172.30.48.18: byte=32 durata=8ms TTL=64
Risposta da 172.30.48.18: byte=32 durata=7ms TTL=64
Risposta da 172.30.48.18: byte=32 durata=6ms TTL=64
Risposta da 172.30.48.18: byte=32 durata=6ms TTL=64

Statistiche Ping per 172.30.48.18:
    Pacchetti: Trasmessi = 4, Ricevuti = 4,
    Persi = 0 (0% persi),
Tempo approssimativo percorsi andata/ritorno in millisecondi:
    Minimo = 6ms, Massimo =  8ms, Medio =  6ms

gpmacario@HW2457 MINGW64 ~
$
Configure public SSH keypair
Logged in as pi@rpi4gm35, create a public/private SSH keypair:
ssh-keygen
Type the following commands to be able to login to your Raspberry Pi through your public SSH key - for instance:
cat <<END >>~/.ssh/authorized_keys
ssh-rsa AAAAB3Nza....W1cG35r8= gpmacario@HW2457
END
Test
gpmacario@HW2457 MINGW64 ~
$ ssh pi@rpi4gm35.gmacario.it
Linux rpi4gm35 5.10.92-v7l+ #1514 SMP Mon Jan 17 17:38:03 GMT 2022 armv7l

The programs included with the Debian GNU/Linux system are free software;
the exact distribution terms for each program are described in the
individual files in /usr/share/doc/*/copyright.

Debian GNU/Linux comes with ABSOLUTELY NO WARRANTY, to the extent
permitted by applicable law.
Last login: Thu Jan 20 09:12:23 2022
pi@rpi4gm35:~ $
Install Virtual Keyboard
Reference: https://pimylifeup.com/raspberry-pi-on-screen-keyboard/
Logged in as pi@rpi4gm35, type the following commands to setup the On-Screen Keyboard:
sudo apt update
sudo apt upgrade
sudo apt install -y matchbox-keyboard
Test: On the Raspberry Pi OS dashboard run
Accessories > Keyboard
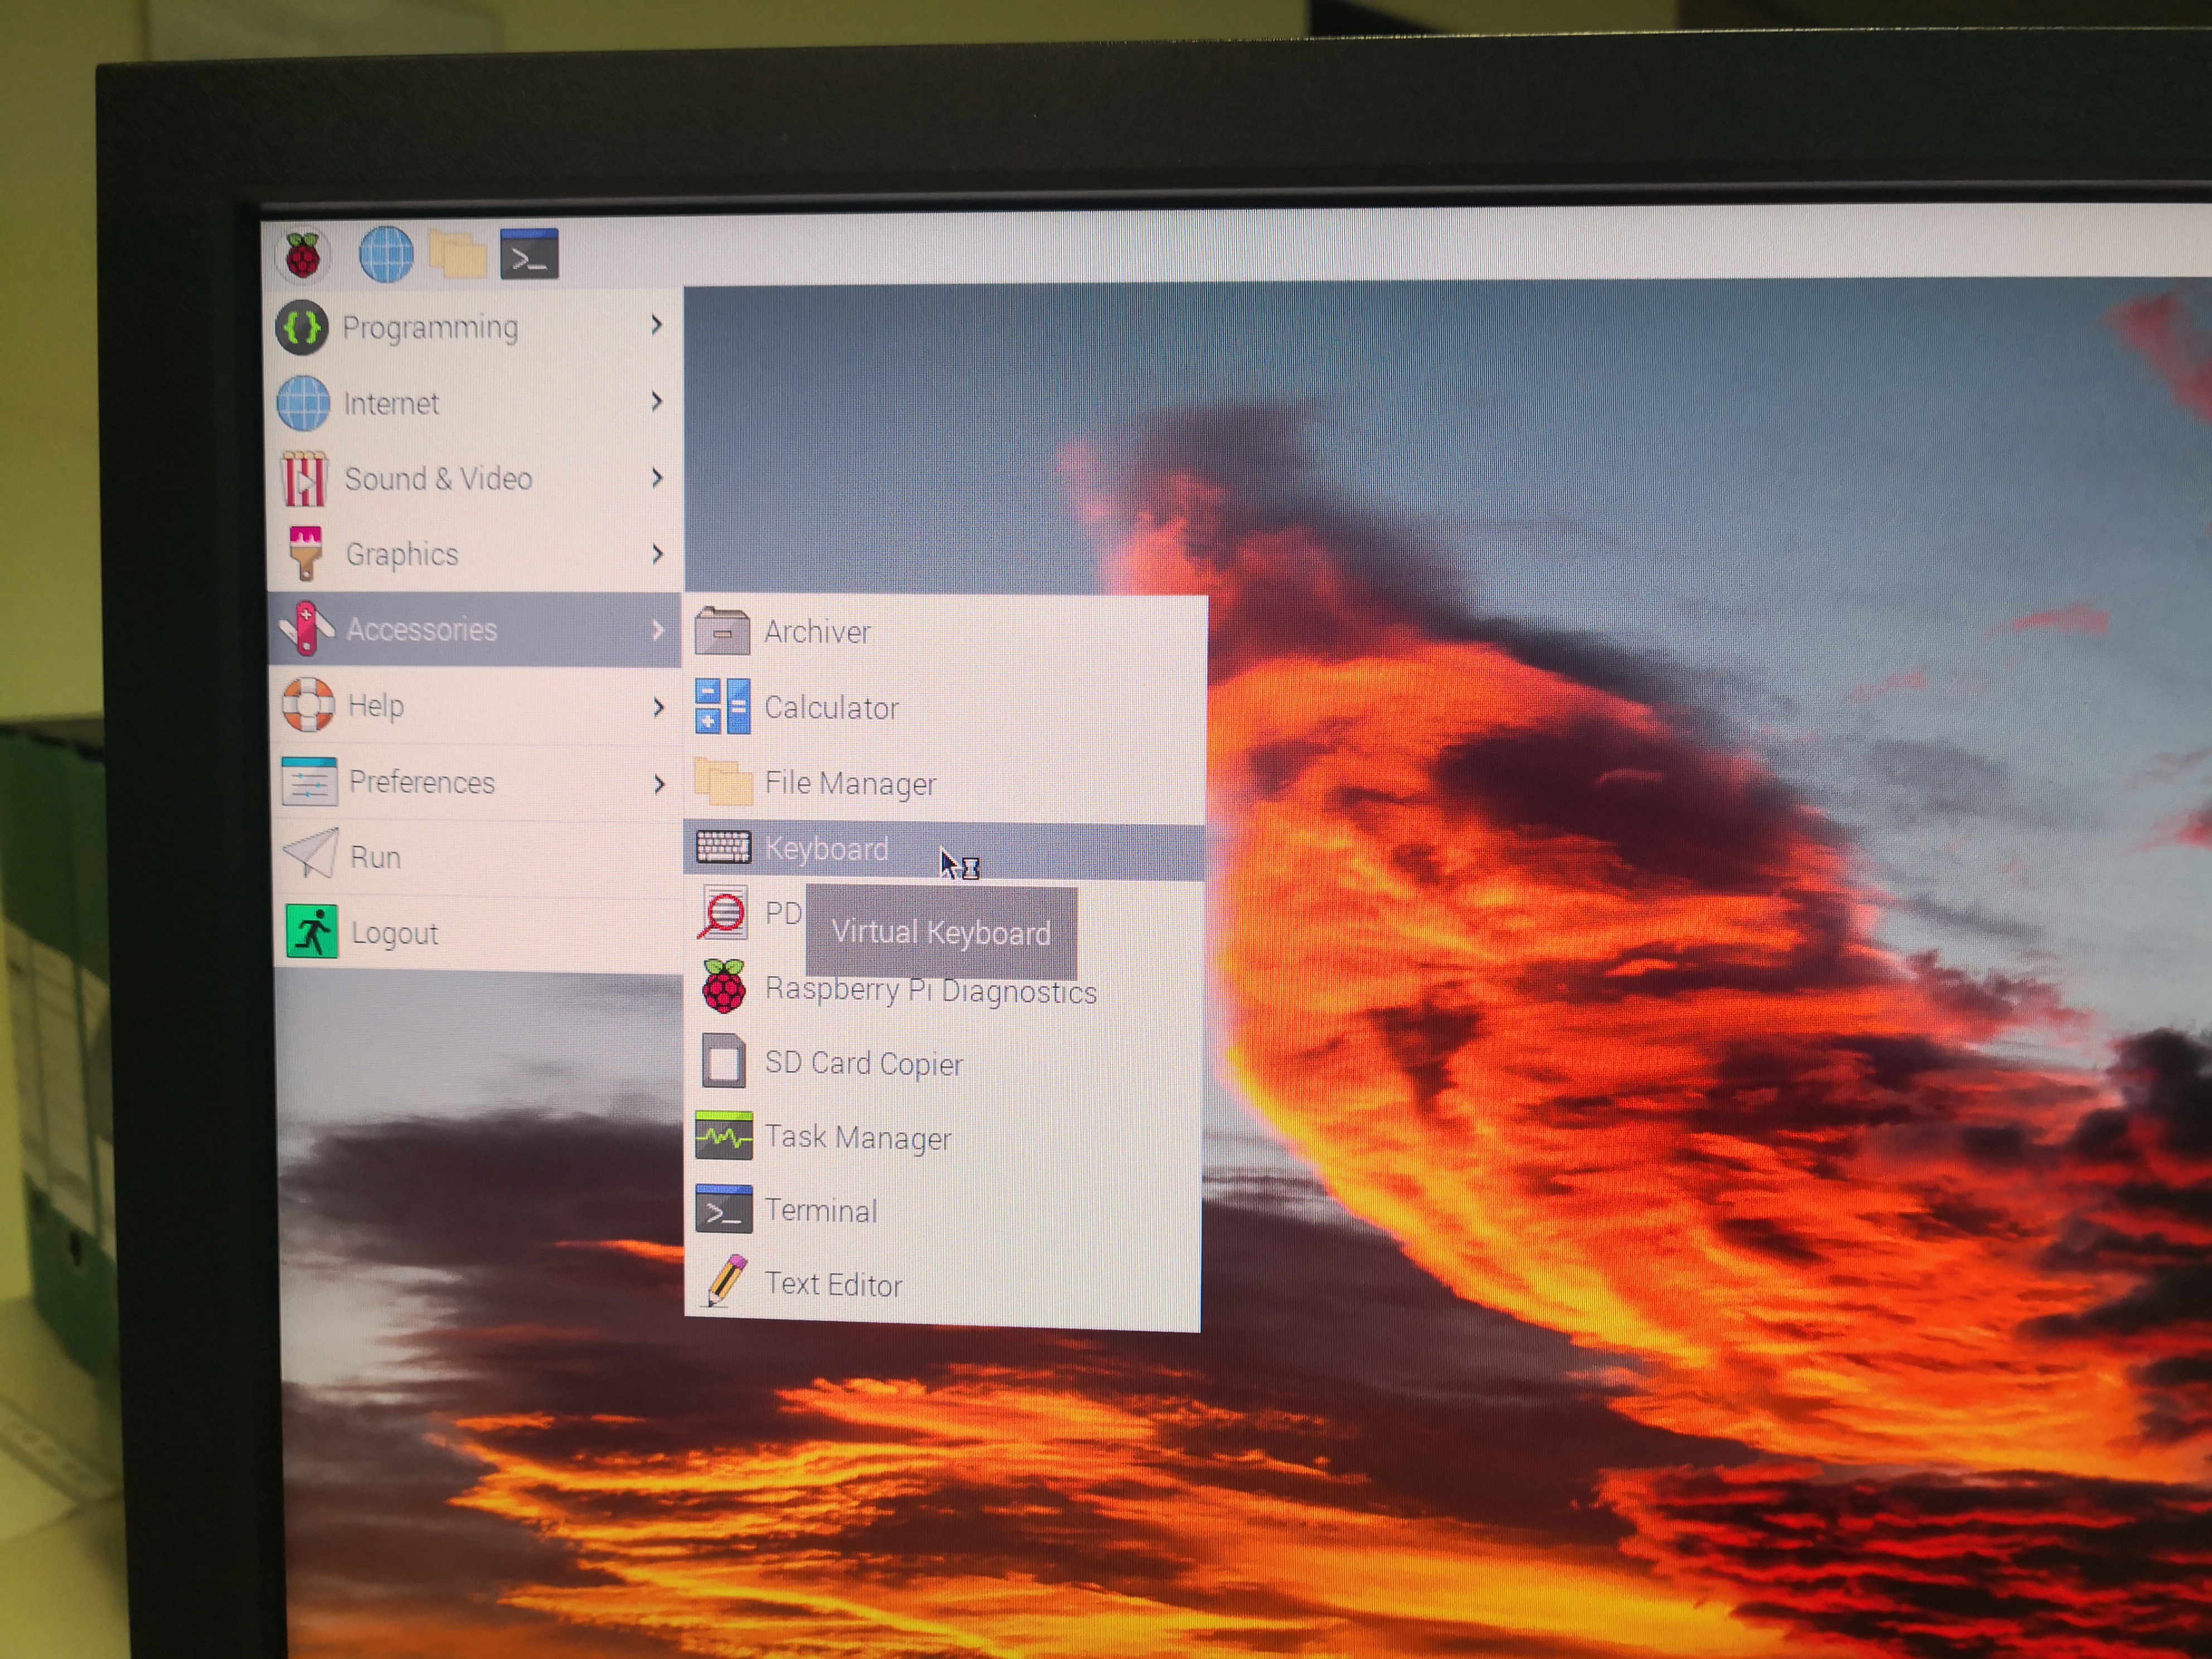
Result:

Install byobu
sudo apt -y install byobu
Install git and tig
sudo apt update
sudo apt -y install git tig
Install git-aware-prompt
Reference: https://github.com/jimeh/git-aware-prompt
Clone git-aware-prompt sources from GitHub
mkdir ~/.bash
cd ~/.bash
git clone https://github.com/jimeh/git-aware-prompt.git
then append the following lines to ~/.bashrc to customize the default shell prompt:
# Configure git-aware-prompt
export GITAWAREPROMPT=~/.bash/git-aware-prompt
source "\${GITAWAREPROMPT}/main.sh"
export PS1="\${debian_chroot:+(\$debian_chroot)}\[\033[01;32m\]\u@\h\[\033[00m\]:\[\033[01;34m\]\w\[\033[00m\] \[$txtcyn\]\$git_branch\[$txtred\]\$git_dirty\[$txtrst\]\$ "
Logout and login for applying the changes.
Now when inside a directory versioned with git your prompt should show the branch where you are in, as in the following example
pi@rpi4gm35:~/.bash/git-aware-prompt (master)$ git status
On branch master
Your branch is up to date with 'origin/master'.

nothing to commit, working tree clean
pi@rpi4gm35:~/.bash/git-aware-prompt (master)$
Notice that the (master) branch is part the prompt.
Clone ARNEIS sources from GitHub
Logged in as pi@rpi4gm35
mkdir -p ~/github/B-AROL-O
cd ~/github/B-AROL-O
git clone https://github.com/B-AROL-O/ARNEIS.git